Starting Your First Allotment Plot — A Beginner's Checklist
Everything you need to know before breaking ground. Covers site selection, soil testing, tool essentials, and the first steps to take.

Why Your First Plot Matters
Starting an allotment isn't just about growing vegetables. It's about understanding your piece of land — its history, its soil, its drainage, and what's actually possible there. Most beginners jump in without knowing these basics, and that's where things go wrong.
We've seen it happen dozens of times. Someone gets a plot in April, plants whatever's in the garden centre, and by July they're frustrated because nothing's thriving. The difference between that person and someone who's genuinely successful? They took time to prepare properly. They assessed what they had. They made a plan.
This checklist covers the essential steps you'll need before your first season really gets going. Think of it as your foundation — get this right, and you've got years of good harvests ahead.
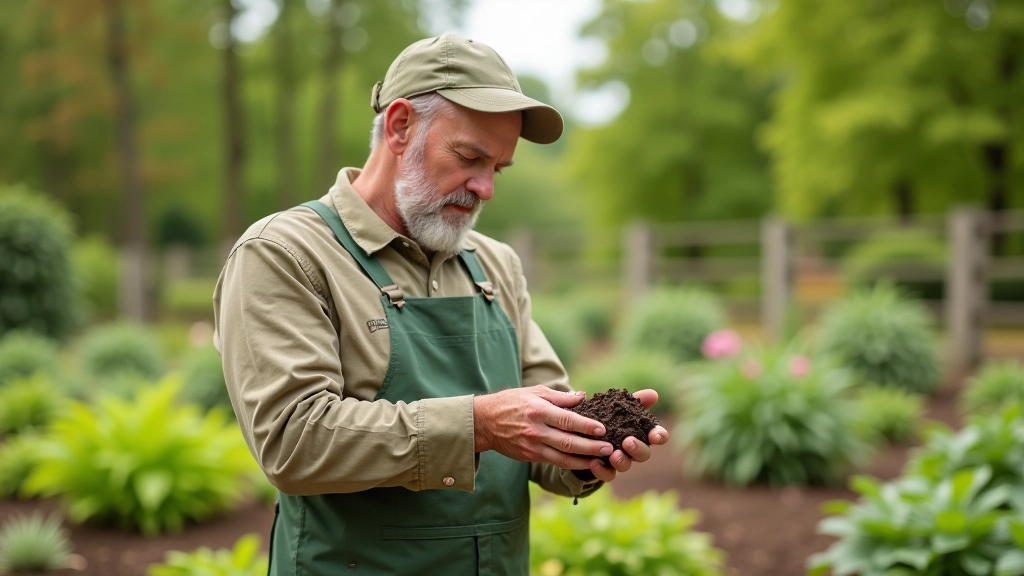
Understanding Your Plot's Condition
Before you dig a single hole, you need to know what you're working with. Is the soil heavy clay that'll bake solid in summer? Sandy loam that drains too quickly? That matters enormously.
Here's what you actually need to do. Walk the plot on a dry day. Look at how water behaves after rain — does it sit in puddles for hours, or disappear within minutes? Check for compacted areas where nothing's been grown. Look for existing perennial weeds like bindweed or ground elder (you'll want to tackle these early).
Get a soil test done. Your local council often offers this cheaply, or you can buy a simple test kit from any garden centre. You're checking for pH (most vegetables prefer 6.5 to 7.5) and nutrient levels. Knowing whether you're deficient in nitrogen or potassium changes what you'll need to add.
Site Assessment Checklist
- Walk the plot and observe water drainage patterns
- Identify existing perennial weeds (bindweed, ground elder, couch grass)
- Check for shade — note which areas get full sun
- Get soil pH and nutrient levels tested
- Note existing infrastructure (water tap, shed access)
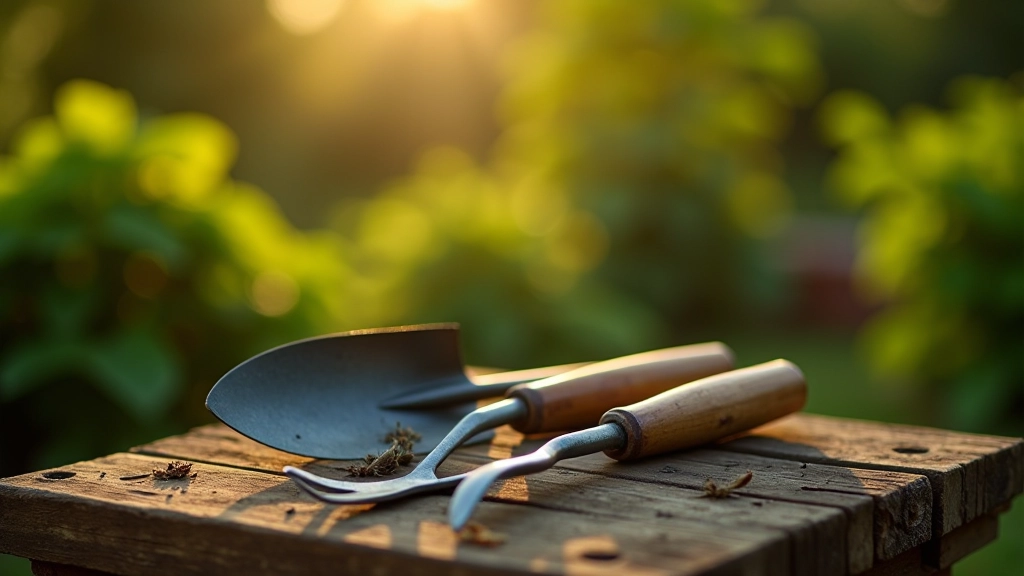
Essential Tools You'll Actually Need
There's an endless range of fancy garden gadgets. You don't need most of them. Here's what you genuinely can't work without.
A spade and fork are your foundations. You'll use these constantly — for turning soil, lifting crops, moving compost. Invest in decent ones with wooden handles (they're more comfortable than plastic). A hoe saves your back when you're weeding between rows. A rake smooths beds and breaks up clumps. You'll also want a trowel for transplanting and detail work.
Beyond that, you need something to carry stuff in (a wheelbarrow or sturdy bucket), measuring tools (a tape measure), and something to water with. A watering can works fine at first — you can upgrade to a soaker hose system later if you want.
Don't spend £200 on tools when you're starting out. Get decent basics (£30-50 each for good spade and fork), and add to your kit as you discover what you actually use regularly.
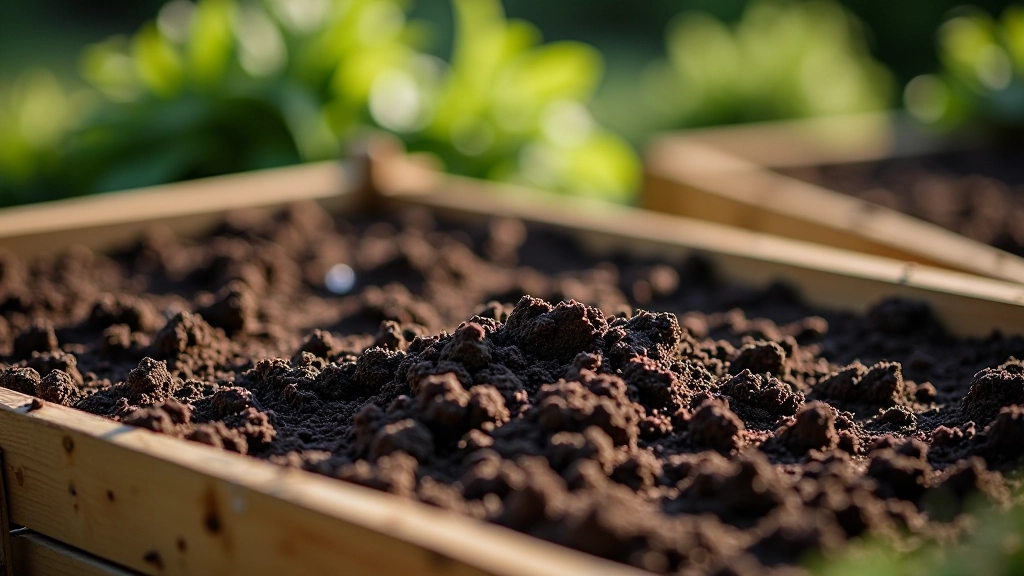
Preparing Your Beds — the Right Way
This is where patience pays off. You've got options depending on your soil condition and timeline.
If you've got heavy clay and you're starting in spring, the no-dig method is genuinely your friend. You don't have to break your back turning compacted soil. Instead, lay cardboard over the weeds (overlap the edges, wet it so it stays down), then add 6-8 inches of compost on top. You can plant straight into it. The cardboard suppresses weeds underneath, and everything breaks down over time.
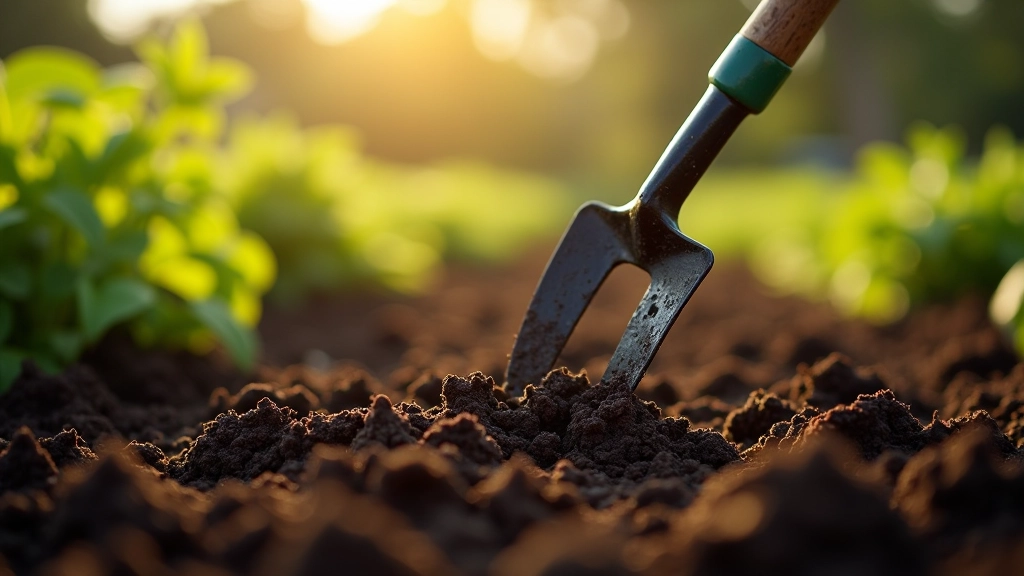
If you're digging, you're looking at removing perennial weeds first (dig out roots properly, don't just chop them up), then turning the top 10-12 inches of soil. Add organic matter — compost, well-rotted manure, whatever you can get. Mix it in as you go. This takes time. One raised bed takes maybe 2-3 hours if you're doing it thoroughly.
Many beginners underdose on organic matter. Your soil will improve dramatically if you add 2-3 inches of compost each year. Don't skip this bit.
Important Note
This article provides educational information about allotment gardening based on established UK gardening practices and RHS guidelines. Individual circumstances vary significantly — your specific soil, climate zone, local rainfall, and plot conditions will affect what works best. For personalized advice, we recommend consulting with your local allotment association, RHS advisors, or experienced gardeners at your site who understand your local conditions. Always follow safety guidelines when using tools and handling materials.
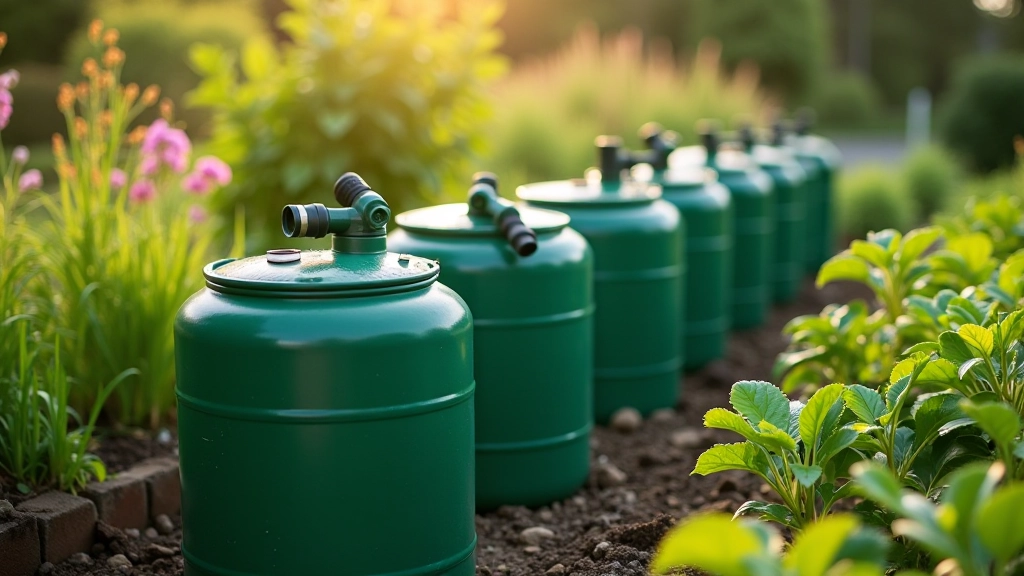
Water Access and Planning Ahead
Water is non-negotiable. During dry spells, you'll need to water regularly — possibly every day in July and August. If your plot doesn't have a tap nearby, you've got a real logistical problem.
Check where the nearest water point is. Some allotments have taps at each plot, others have central points. If it's a 5-minute walk carrying watering cans, you'll know about it. Many experienced gardeners install water butts to collect rainwater — it's free and plants prefer it. Even one or two 200-litre butts make a massive difference during summer.
Plan your layout now while the plot's empty. Which beds get the most sun? That's where you'll grow sun-hungry crops like tomatoes and peppers. Shadier areas work for leafy greens. Think about access — you don't want to scramble over everything to reach the back. Most people create paths or stepping stones. Leave enough space to move comfortably with a wheelbarrow.
What to Grow First — and Why
Here's the mistake most beginners make: they grow what they wish they liked eating, not what actually grows reliably. Start with crops that are genuinely forgiving and productive.
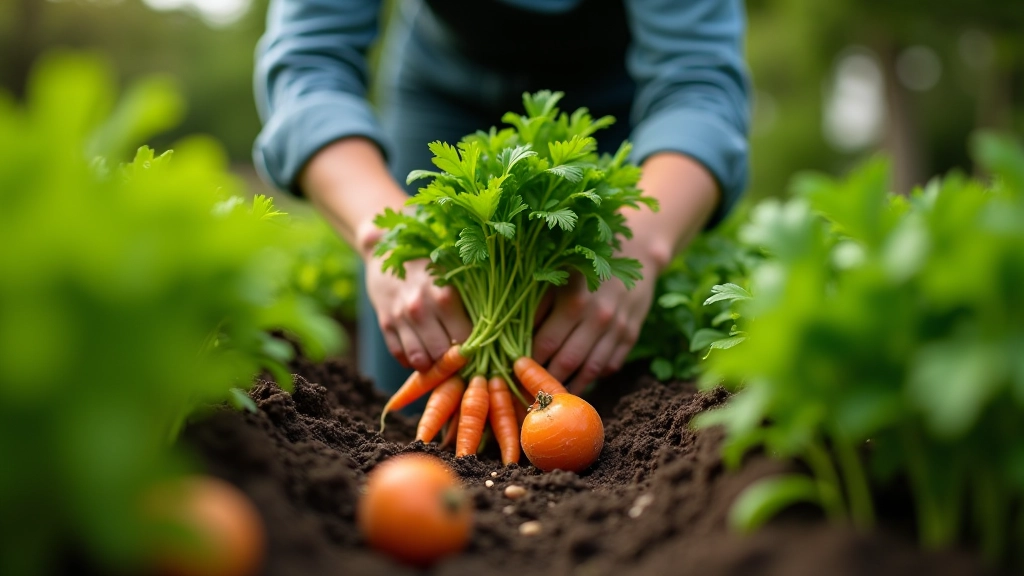
Potatoes are your friend. They're hard to kill, they suppress weeds while growing, and they give you a decent yield even in mediocre soil. Onions from sets (tiny bulbs, not seeds) almost always work. Courgettes produce absurdly — plant two or three and you'll be giving them away. Beans are reliable. Lettuce, spinach, and chard grow fast and don't need much.
Avoid tomatoes and peppers your first year unless you've got great sun and you're willing to put in extra work. They're worth learning on, but not as your opener. Avoid parsnips and carrots in heavy clay (they fork badly). Avoid anything you've never actually grown before if you're going all-in.
Your job in year one isn't to grow everything. It's to improve the soil, learn what works, and build confidence. That's actually the win.
Getting Started — Your First Month
You don't need everything sorted perfectly before you plant. But you do need these basics in place: you've assessed your soil, you've cleared major weeds, you've got access to water, and you've got a rough idea of what's going where.
Week one: walk the plot regularly. Get familiar with it. Week two: start clearing. Week three: improve soil where you'll plant. Week four: plant your first crops. It's not complicated. It just takes showing up.
The best part about allotments? You'll meet other growers who've been exactly where you are. Ask them questions. They've learned what works in your specific soil and climate. That knowledge is genuinely worth more than any guide.
Continue Learning